The Archive: Help
How to Get Help Inside the App
- For a quick overview of The Archive’s philosophy, check out the welcome note. You can add the note to your current archive directory from the Help menu: Help ‣ Create Welcome Note…
- To get tips on how to use the user interface, use the App Guide for a guided tour: Help ‣ Show App Guide…
Check Out Our Forums
Our community of users is pretty amazing. You should get to know them! We’ll answer any app-related questions on the forums, too, so those coming after you can benefit from your question.
Find discussions about The Archive here:
https://forum.zettelkasten.de/categories/the-archive
Text Formatting
Smart Formatting Shortcuts
When you use the Format menu and/or shortcuts like ⌘+B to make text bold, you can change how these formatting shortcuts behave.
The default is a smart “do what I mean” approach that, depending on the context, performs different actions. For example, using the shortcut to make text bold, it will apply this shortcut to the next word to the left or right of the cursor.
Once you turn this off, you get the typical Markdown bold text markers without expanding the selection to the nearest word.
Hidden Preferences
Some settings in the app are not exposed as user-customizable preferences. But they can be changed via the thearchive:// URL scheme. For some changes to take effect, you may have to relaunch the app.
To open these URLs, use the Terminal and use the open command, e.g.:
open thearchive://preference/thePreferenceName/set/1234
This also works in your browser if you copy the URL (not the “open” at the beginning)!
- To set a preference, use the format
thearchive://preference/<PREFNAME>/set/<VALUE>. - To reset a changed preference to its built-in value, use the format
thearchive://preference/<PREFNAME>/delete.
Currently supported preferences (replace <PREFNAME> with these):
-
debugMode(boolean).
Default value:false.
Shows additional tools to help diagnose problems, and develop themes and scripts. -
enableInlineImagePreview(boolean).
Default value:true.
Turn the image preview on and off. -
identifierDateFormat(string).
Default Value:yyyyMMddHHmm.
The Unicode TR35-formatted file name pattern for new notes and unique ID generation from the main menu or ⌘+U shortcut. For example, to include seconds in the timestamps, useyyyyMMddHHmmss. -
isHighlightingMarkdown(boolean).
Default value:true.
Turn Markdown highlighting on and off. -
isRestoringScrollPosition(boolean).
Default value:true.
Turn restoring of the previously saved position when revisiting a note on and off. Turned off (false), selecting a note will always scroll to the top. -
maxInlineImagePreviewHeight(number).
Default value:400pixels.
Preview images will always shrink to fit to the text column’s width. This value determines tha maximum height, so you don’t fill multiple screens worth of scrolling with tall screenshots. We recommend a value no larger than half your screen height. -
pastedImageFilename(string).
Default value:yyyy-MM-dd HH-mm 'Pasted Image'.
The Unicode TR35-formatted file name pattern for images pasted from the system clipboard. To get a shorter name without spaces, try e.g.yyyyMMdd'_image'. You can also omit all date and time and just call them'pasted-image'(note the single quotes to tell the formatter to not interpret parts of this name as a date/time format piece). -
resultsCellHeightFactor(fractional number).
Default value:2.2.
Changes the height of the search result list rows in relation to the text. -
splitViewDividerAreaExpansion(number).
Default is unset, effectively0pixels.
Affects the padding around the divider hairline that activates the resize functionality, indicated by the←|→mouse cursor. -
timeZoneOverride(string).
Default is unset, effectively using the system’s time zone.
<VALUE>can be an abbreviation likeUTCorCESTand is case-sensitve. New note IDs will be generated for the current time in that time zone.
Frequently Asked Questions
How can I import Finder tags? (Applies to nvALT and DEVONthink, too)
nvALT stores the tags as so-called “Finder tags” in the file metadata. Same for DEVONthink’s exported notes.
This is brittle and only works on Mac. The Archive does not recognize these on purpose, so you don’t tag yourself into a corner.
We provide a converter utility that inserts missing #hashtags into your notes to match the Finder metadata. This should help with the transition!
How do I create notes?
There are different ways to create a note, each with pros and cons depending on your workflow.
- Type the note title you want into the Omnibar and hit Return. If you type a term in the Omnibar that is not used as the name of a note already, The Archive will create a matching note for you; if a note exists, it will be opened instead.
- Use a Wiki-Link: create a link that leads nowhere, click on it to follow the link. There’ll be no note to show, but the Omnibar contains the link now. Then create a note from the Omnibar as you would above. The Wiki-link feature is built on top of the search. Similar rules apply to entering a term in the Omnibar: if a note with the linked text exists, it will be displayed for you. If there is no matching note, you can hit Return from the Omnibar to create a note with the title set to the search term.
- Create an empty note in The Archive without changing your search. Just hit ⌘N (or pick Note ‣ New from the menu). The Archive will create a note for you that will be named “Untitled” and take you right into the editor. After you complete the note you can rename it by hitting ⌘R (or via Note ‣ Rename from the main menu).
- Use the “Quick Entry” popup window from anywhere on your system to capture a thought. You have to configure the shortcut in the application preferences (⌘,) to make it globally accessible.
How do I create links between notes?
This is how we do it in The Archive by default: every Zettel note gets its own address. This is the note’s ID. (Find out why identifiers are important.)
An ID should never change: it must be fixed and stable. So the note title is not a good candidate as it may change over time. Moments in time are unique and also easy to generate.
We choose date-and-time IDs like 202305181056 which represents the date “2023-05-18 10:56am”.
To create links between notes, you reference the target note by its address, aka its ID.
Even though it sounds obvious to use file names, an arbitrary ID (which should be part of the filename) is more stable.
The Archive tries to be helpful and aid you with these nifty [[Double Bracket Wiki-Links]], which trigger a search. Adhering to the double-square-bracket convention of wikis, you get clickable links using Zettel IDs without buying into any proprietary file format or fragile file paths.
How do I link to notes from other apps?
We believe that using a file path-based link isn’t a very durable way to point to your notes. The links break once you move your notes to another directory or drive. This is true for links between notes, but also for incoming links from other apps. Instead, we suggest you simply use the ID of your notes and tell The Archive to look up the result.
A link launches The Archive and opens a matching note works with this external link URL scheme:
thearchive://match/TERMworks like the search but displays a good match directly; this is similar to[[Wiki-Links]]. You likely want to use this.thearchive://search/TERMsearches forTERMas if you typed it inthearchive://matchOrCreate/TERMwill create a note of the exact titleTERMif that doesn’t exist; it’s similar to entering a search term into the Omnibar and hitting the return key.
For example, thearchive://match/202305181051 will show the note matching “202305181051” in The Archive.
How can I include images in my notes?
The Archive stores notes as plain text, but you can display image files in your notes using the Markdown syntax:

The result looks like this:
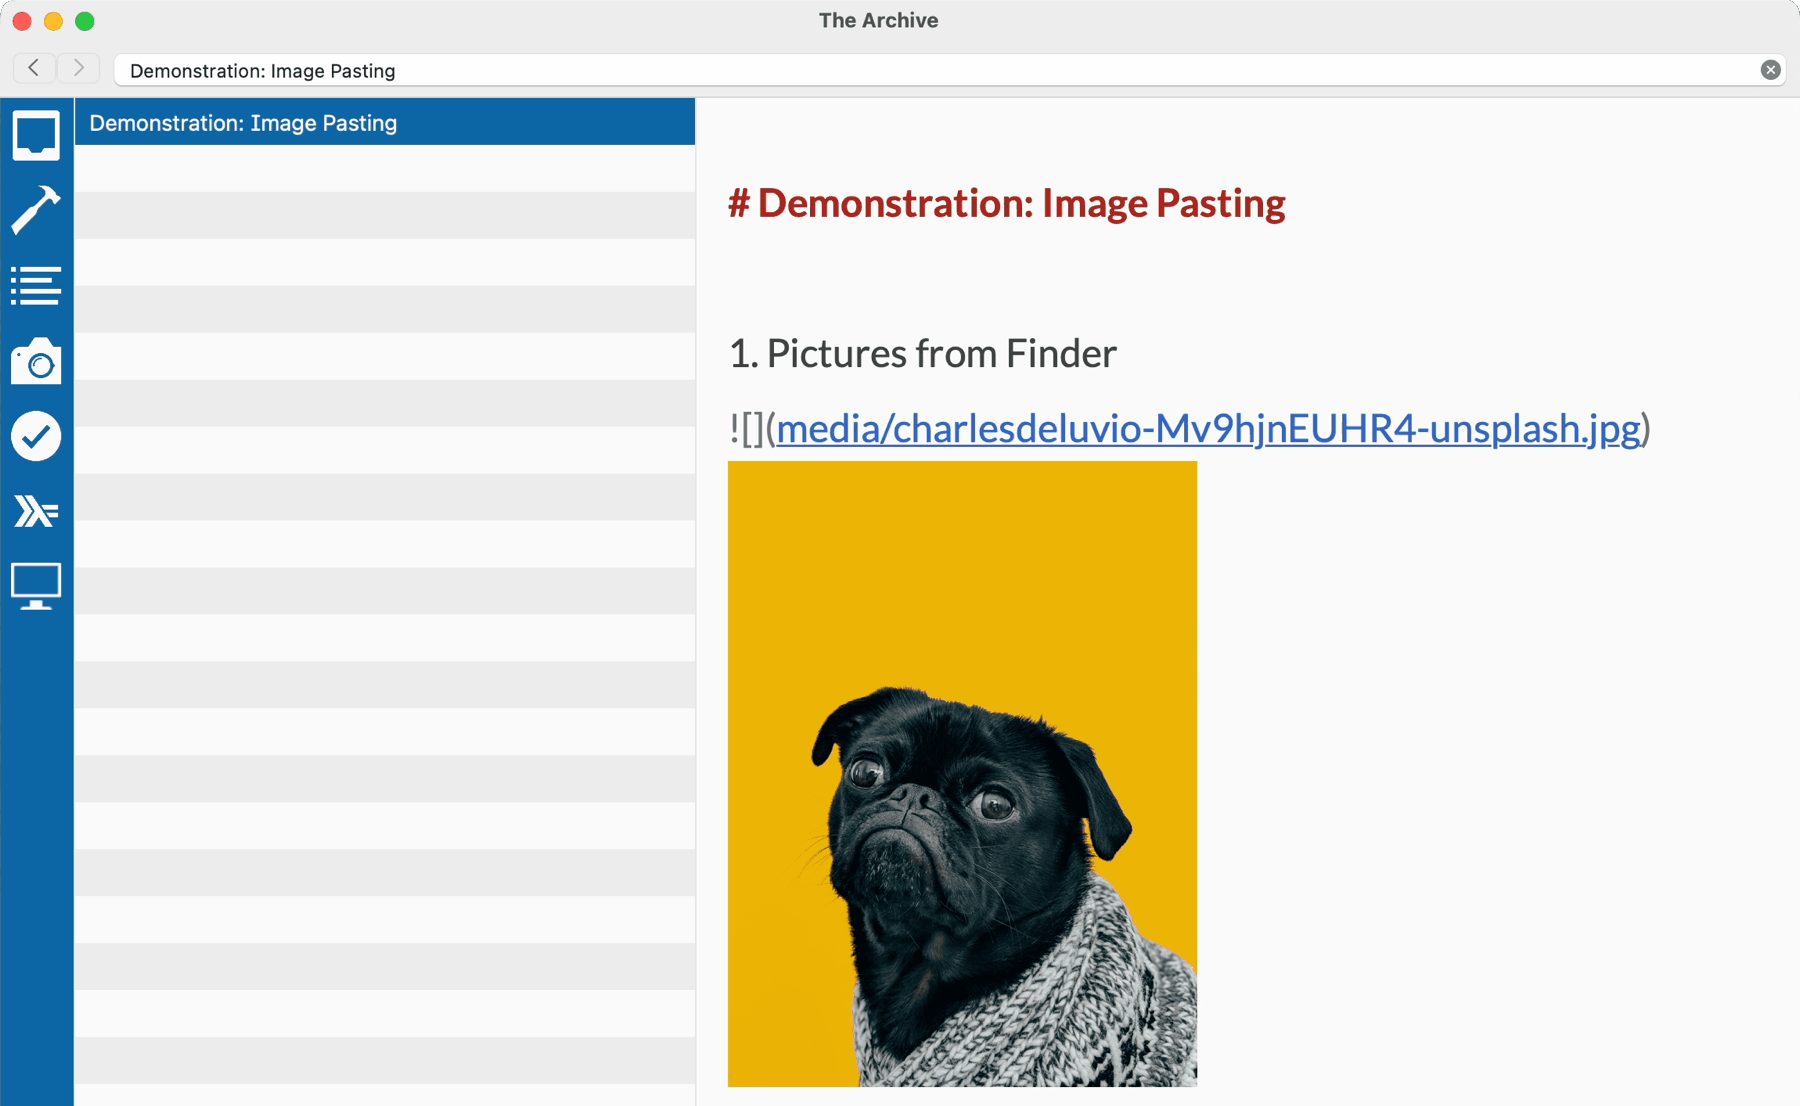
The easiest way is to keep your images in your “media” sub-folder next to your notes and let The Archive manage the files for you. Drag and drop images into your notes, and that’s all you need.
- Image drag & drop, and copy & paste: find out how to import images and manage image files;
- Camera capturing makes it possible to use your Mac’s camera (or your iPhone!) to snap pictures and include them in your notes.
Can I use boolean search?
Yes! Here’s how.
Operators are all caps: AND, OR, and NOT. NOT is alternatively expressed by the ! prefix. NOT b is equal to !b and will show notes that have no “b” inside them. ! b (note the space) evaluates as ! AND b.
When you write foo bar, that’s the same as writing foo AND bar. You can also connect phrases with OR to form a set union. Usually, phrases are “words”, i.e. strings of characters separated by whitespace. You can group words into larger phrases with the use of quotation marks: "the archive" will only find this very phrase, sans quotation marks, and not each occurrence of “the” in your notes.
Phrase search wins: "!b" is a phrase search for “!b”, matching the literal exclamation mark and letter. Instead of quotation marks, escaping works, too: \!b. Escaping inside phrase searches will also work: hello "you \"lovely\" specimen". You can also escape parts of reserved words, like the beginning of an operator: \AND will not be treated as an operator.
You can parenthesize expressions: !(foo OR (baz AND !bar) is equivalent to the expanded version, !foo OR !baz AND !foo OR !bar. Be aware that OR and AND do not have correct operator precedence. If you don’t know what that means, you probably do not need to care.
How can I assign custom shortcuts?
You can assign a shortcut to anything that’s available in The Archive’s main menu. Follow the excellent instructions by Apple.
Sending in Log Files for Errors
You can send log files from within the app by choosing Help ‣ Send Log Files…. This will attach log files of up to 5 days of app activity. You can remove irrelevant log files from the email draft.
Please make sure to delete confidential information from the log if necessary using any text editor.
Sending in Crash Reports
macOS 10.12 and later:
- Open the built-in Console.app: Open Finder, choose Go ‣ Utilities, open the Console application.
- Click on User Reports under Reports at the left side of the window. (If there’s no sidebar to your left, choose View ‣ Show Sources.)
- In the middle, a list of files will appear, showing a collection of all crash reports. Choose the file or files starting with “The Archive”, like “The Archive_2018-03-14.crash”.
- Click the Share button in the toolbar and select Mail. (If you do not use Apple Mail as your email client, you can instead Copy and Paste the whole crash report into your email client.)
macOS 10.11 and earlier:
- Open the built-in Console.app: Open Finder, choose Go ‣ Utilities, open the Console application.
- Expand User Diagnostics Reports under Diagnostics and Usage Information from the left sidebar of the window.
- A list of crash reports will appear. Choose the file or files starting with “The Archive”, like “The Archive_2018-03-14.crash”.
- Right-click and choose Reveal in Finder. Then attach the selected files to an email and send it to us.