How I use Outlines to Write Any Text

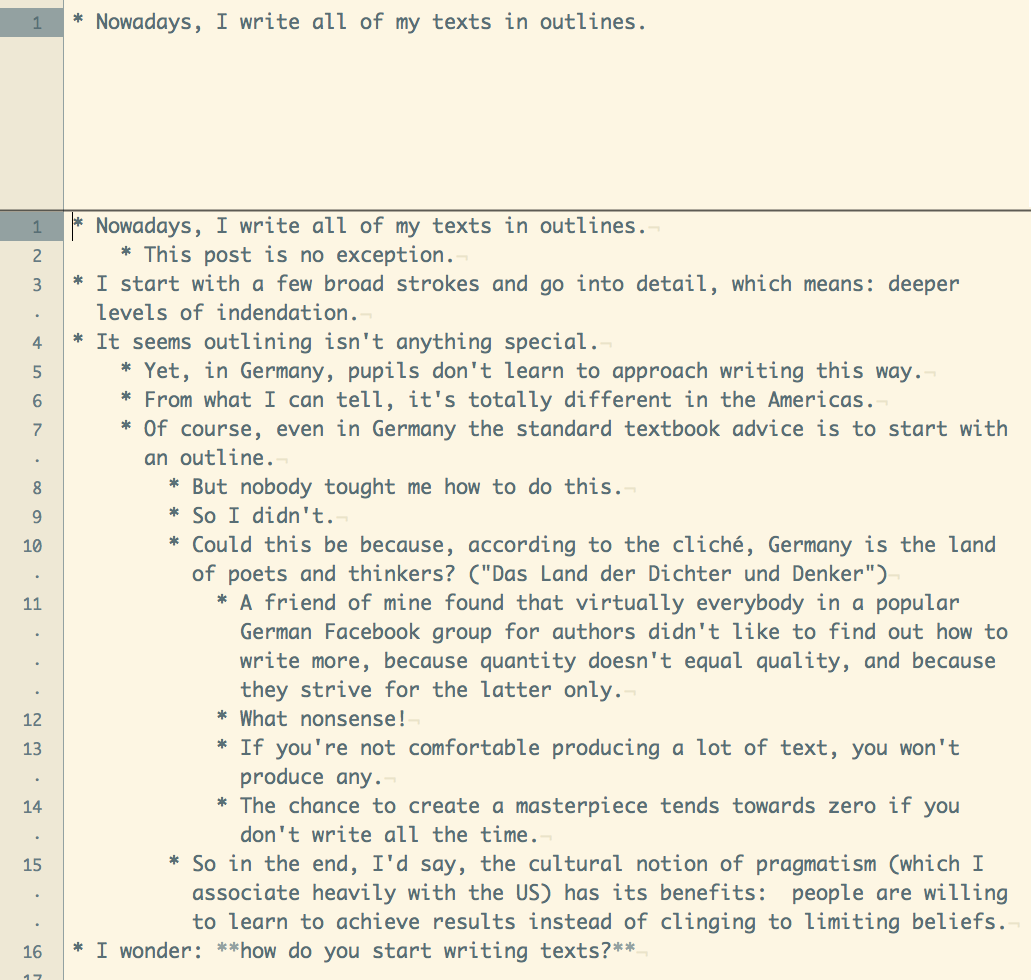
Nowadays, I write all of my texts in outlines. This post is no exception. I found this to be a game-changer when it comes to writing, so I thought I’d share the process.
I start with a few broad strokes and go into detail, which equals using deeper levels of indentation.
Every item in the outline is going to be a full sentence. This way, I can rearrange paragraphs sentence by sentence in my text editor. Most of the time, though, blog posts simply are too short to make much use of re-arranging their parts. I use this feature heavily in my book manuscript, though, and I found that research-laden posts benefit from an outline, too.
Remember, English is my second language only. Usually, I don’t come up with sentences, paragraphs, or sections which work out-of-the-box. I have to re-write my texts a lot to create flow. Outlines help to separate composing a text from creating flow.

So, what’s in for you?
- Outlines are composed of movable parts, as opposed to finished paragraphs and blocks of texts.
- Hierarchy creates context. You can see the structure of the ideas you employ.
- You can attach research notes as references as they are at first instead of embedding them in the text immediately.
It’s hard to extract parts of a finished paragraph. You have to find out what the context of a sentence is. If you want to leave the parts coherent, how much of the surrounding sentences do you have to extract with the one you’d like to move?
To work with a hierarchical outline solved this problem for me. I know when an item in the outline has descendants, I will have move them, too, because descendants belong to their ancestral item. Moreover, the relationship from the item I want to extract to its ancestor provides context information I may have to provide again when I move it. Without such hierarchical organization, I wouldn’t have access to this information.
Besides helping strengthening your sentences and providing a hierarchy, outlines make organizing references easier.
You can attach research notes to parts of your outline as descendant items to make clear what belongs together. When you move items in your outline, you move the research notes with them, keeping together what belongs together. This way, you can sketch an idea and add research results before you know what the finished text will look like. This is a very powerful feature since you can work iteratively this way. Since you know that there’s always time to change the order of things later, “to get research done first” will not prevent you from drafting the document. There’s no need for over-analyzing something prior to getting ideas on paper because nothing’s cast in stone.
This is a great relief when you write really large texts, too. Zoomed out, the outline can look a bit odd, though. Indenting too deep is a sign that I have to consider creating sub-sections:

When I worked on my book manuscript, I had to incorporate years’ worth of notes into the outline. There are two possible ways to assemble a draft with the help of notes from the archive:
- Copy and paste everything into a single document and rewrite later. This creates a strong relationship between your draft and your notes right away. If you change the notes in the process, the changes won’t be reflected in your draft.
- Reference notes instead of pasting their content. This is a much weaker relationship. You don’t rely on the content of a note itself, but on the note’s existence.
If you want to know in more detail how to write a book in particular, check out the post “How to Write a Book – Without Even Trying (so hard)”.
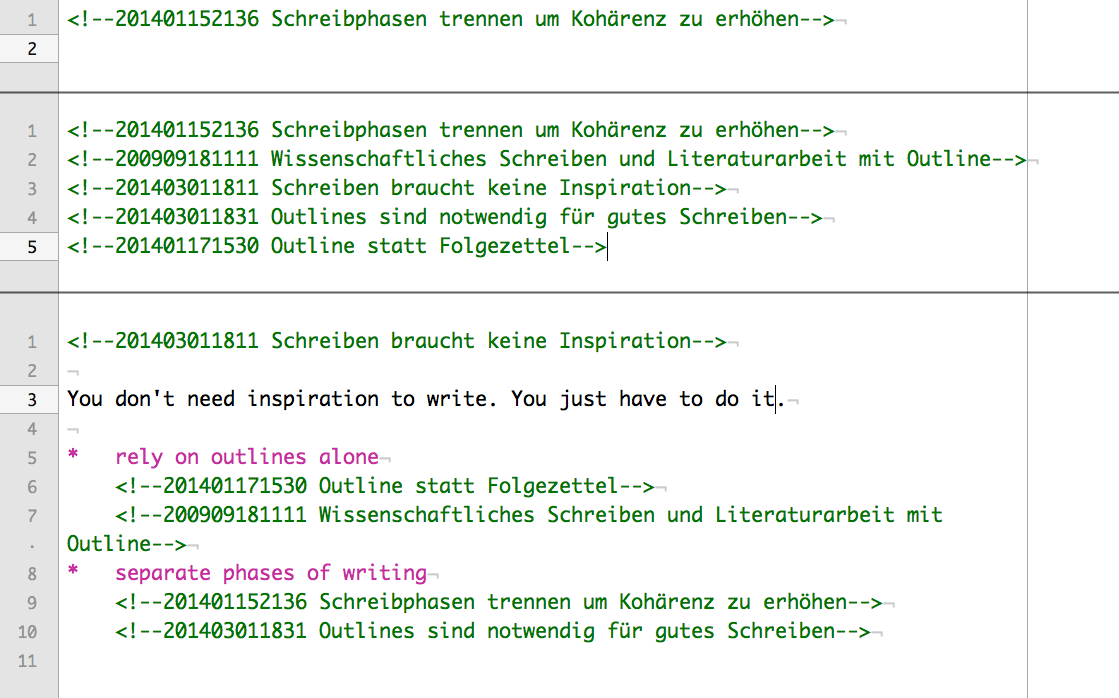
Since I keep notes in my Zettelkasten note archive, every note has a unique identifier. This identifier empowers me to reference notes by ID so I can defer copying the note’s content: at first, I merely decide that a note is relevant to a given part of the draft; later, after I have added other notes, maybe I changed my mind and now think a particular reference is superfluous. I simply remove the reference then. How would I untangle the mess if I pasted everything into the document from the start? I have no idea.
I can move really quick this way. I skim a note, ponder where it belongs, and put a reference in the appropriate place.

My pal Sascha does something similar. When he starts a draft, he pastes a reference to the first note into the document. Then he adds a second reference, then a third, and so forth.
Before he pastes additional references into the document, though, he looks for patterns. To make similar stuff belong together, he groups the references in the draft. This way, he’s forming clusters of note references in the outline, and these clusters can have titles which convey even more information than the list of references did at first.
This approach is really similar to Cal Newport’s technique to start a paper with a few topic notes, paste in all the quotes, and finally write a coherent text around these:1
Step 3: Dump the Quotes
In the document containing your topic skeleton: start typing, under each topic, all of the quotes from your sources that you think are relevant. Label each quote with the source it came from.
We call the final document a topic-level outline. Unlike the compact, hierarchical outlines promoted by the orthodoxy, a topic-level outline is huge (close the size of your finished paper), and flat in structure (no reason to use 18 different levels of indentations here.)
Step 4: Transform, Don’t Create
When you write your paper, don’t start from a blank document. Instead, make a copy of your topic-level outline and transform it into the finished paper. For each topic, begin writing, right under the topic header, grabbing the quotes you need as you move along. Remember, these quotes are right below you in the document and are immediately accessible.
Unlike me, Sascha often starts with just a very first reference and builds everything else around it. From the references alone emerges a text. I like to start with an idea and insert references after the very first rough sketch of the document, instead.
So, why do I write in my favorite text editor instead of using a full-blown outliner?
For one, it’s the Markdown support. The asterisks denote a list item. They aid my eye just like a tree-like view of nested bullet points does in a real outliner because TextMate is smart enough to wrap lines so they align prettily with the start of the list item. Basically, TextMate is typesetting the list with hanging punctuation.

I think it’s great that my outlines are Markdown-aware, so I can insert links, embolden text, or insert comments which are not part of the rendered output. I like the fact that you can fold parts of the outline in every typical outliner software, though. Sometimes, I miss this feature in my text editor, but that’s mostly an issue when I work on my large book manuscript.
Using a text editor for outlining isn’t a recommendation. It’s just what I do because it works great in my case, and because I like to keep things simple. The smaller my toolkit, the less I have to rely on others. I don’t wish for the next big feature which would definitely change the way I work, this time for real, but try to get as far as I can with what I have.
From outlines, you can
I wonder: how exactly do you start when you write texts? What’s your workflow? Tell us in the comments!
-
Also worth a read is his book which covers the writing process: Cal Newport: How to Become a Straight-A Student. The Unconventional Strategies Real College Students Use to Score High While Studying Less, New York: Broadway Books, 2007. (Affiliate link.) ↩